

Key Takeaways
Understanding What's Actually Wrong with Your Grout
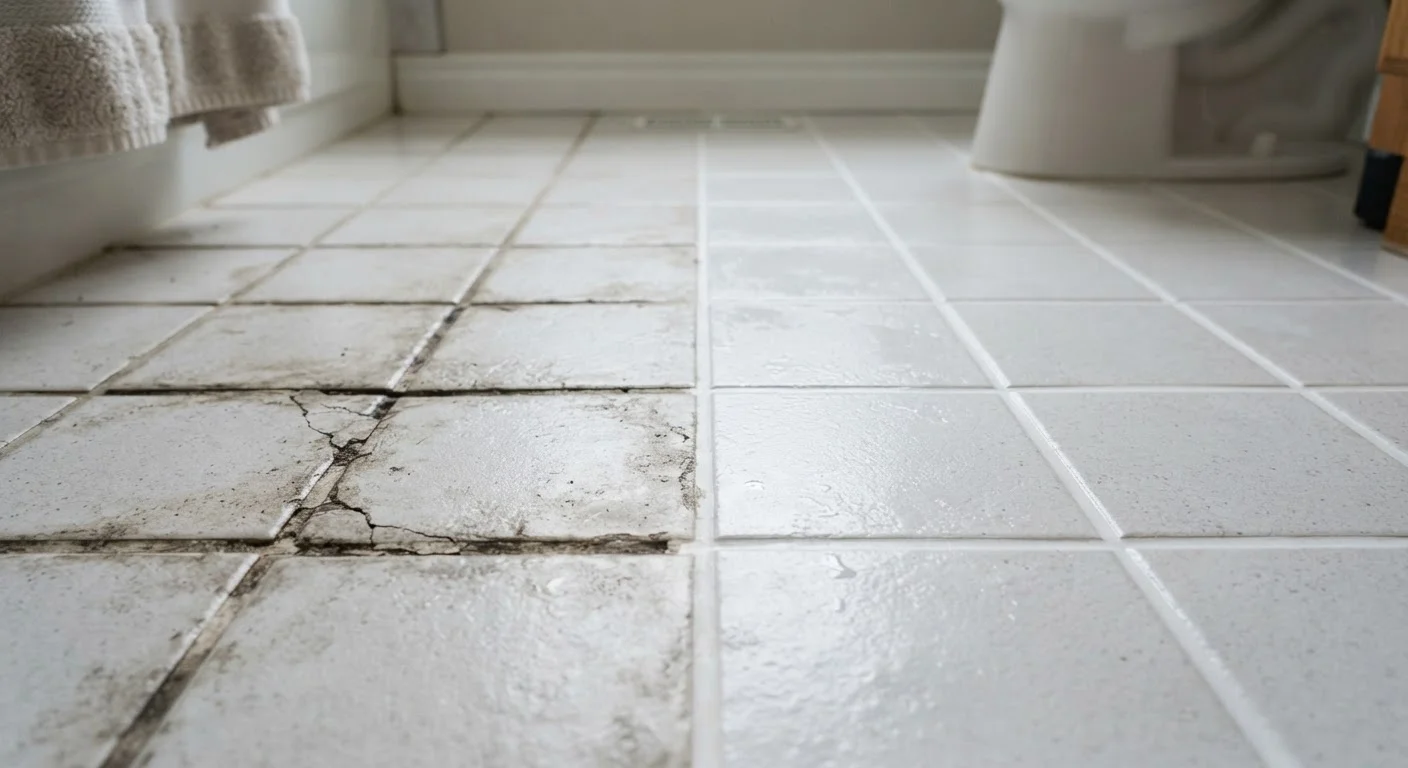
Before picking up a grout saw, it helps to know what you're dealing with. Grout fails in a few distinct ways, and each points to a different fix - or sometimes a deeper problem worth investigating first.
Discoloration and staining is the most common complaint and the easiest to address. Grout is porous by nature, and years of foot traffic, moisture, and cleaning products cause it to absorb grime, soap scum, and mildew. The tile itself may be perfectly fine.
Hairline cracks running along a single grout line are usually the result of normal house settling or minor thermal expansion. These are cosmetic concerns and respond well to DIY repair.
Crumbling or missing grout means the bond has broken down - often from water intrusion, age, or using the wrong grout product originally. This needs to be removed and replaced.
Wide cracks or cracks that return after repair are a warning sign. If grout keeps cracking in the same spot, the subfloor beneath may be flexing, which no amount of re-grouting will permanently solve. Much like how reading the pattern of a crack tells you what's wrong with drywall - location and recurrence matter here too. In that case, consult a flooring professional before investing time in a repair.
Recurring Cracks Warrant a Closer Look
If the same grout joint cracks repeatedly after repair, do not simply re-grout it again. Recurring cracks in the same spot often indicate subfloor movement or an inadequate tile installation. Re-grouting on top of a structural problem will always be a temporary fix. Have a flooring professional assess the subfloor before investing further in repairs.
What You'll Need Before You Start
Gather your supplies before starting so the repair doesn't stall mid-job. Most of these items are available at any hardware or home improvement store.
Grout saw or oscillating tool with grout blade
Removes damaged or crumbling grout from joints without chipping the surrounding tile.
Grout float
Spreads new grout evenly into joints at the correct angle for full coverage.
Sponge and bucket
Used to wipe away excess grout from tile surfaces during application.
Grout cleaner or oxygen bleach solution
Deep-cleans existing grout to remove mildew, soap scum, and staining before repair.
Stiff-bristle grout brush
Scrubs grout lines during the cleaning stage to lift embedded dirt.
Grout sealer
Applied after new grout cures to protect against future moisture and staining.
Shop vacuum
Removes dust and debris from grout joints after cutting, ensuring a clean bond.
What you will need
How to Repair Grout: Step by Step
Work on a small section at a time - no more than a few square feet - so the new grout doesn't begin to dry before you can finish spreading and cleaning it. Good ventilation helps, especially if you're working in a bathroom.
Clean the Existing Grout Thoroughly
Mix an oxygen bleach solution or apply a dedicated grout cleaner directly to the grout lines. Let it sit for 10-15 minutes, then scrub firmly with a stiff-bristle grout brush. Rinse with clean water and allow the surface to dry completely - at least a few hours, ideally overnight. New grout will not bond properly over dirty or damp existing grout.
Remove Damaged or Crumbling Grout
Using a grout saw or an oscillating tool fitted with a grout removal blade, carefully cut out the damaged grout to a depth of at least 1/8 inch. Work slowly along the joint, keeping the blade centered to avoid nicking the tile edges. You don't need to remove grout that is solid and well-adhered - only the sections that are cracked, crumbling, or missing.
Vacuum and Wipe the Joints Clean
Use a shop vacuum to pull all dust and debris out of the open joints. Follow up by wiping with a slightly damp sponge to remove any remaining fine dust. Let the joints dry completely before moving on. Any residue left in the joint will weaken the bond of the new grout.
Mix and Apply New Grout
Mix your grout according to the package instructions until it reaches a peanut butter-like consistency - no lumps, and firm enough to hold its shape. Using a rubber grout float held at a 45-degree angle, press the grout firmly into the joints, working diagonally across the tile surface. Make sure joints are fully packed with no voids. Work in sections of 2-3 square feet at a time.
Clean Tile Surfaces and Shape the Joints
Wait 10-15 minutes after applying grout, then use a damp (not wet) sponge to wipe diagonally across the tile surface in gentle circular motions. Rinse the sponge frequently and wring it out well - excess water drags grout out of the joints. Repeat wiping passes until the tile faces are clear. A grout haze will remain on the tile; this is normal and addressed in the next step.
Remove Grout Haze and Allow to Cure
Once the grout has dried for several hours (check your product's instructions), buff away the remaining grout haze using a clean, dry microfiber cloth. Do not expose the repaired area to water or foot traffic for at least 24 hours, and allow a full 72 hours before applying sealer. Curing time varies with humidity and temperature.
Seal the Grout
Once the grout has fully cured, apply a penetrating grout sealer according to the product's directions. Sealer is especially important in kitchens, bathrooms, and entryways where moisture and staining are ongoing concerns. Wipe away any sealer that lands on tile faces before it dries. Reapply sealer annually or as recommended to maintain protection.
When to Caulk Instead of Grout
One of the most common grout mistakes is using grout where caulk should go. Any joint where two surfaces meet at a change in plane - the corner between a tub and floor, the base of a backsplash, or where tile meets a different flooring material - needs flexible caulk, not rigid grout. Grout in those joints will crack repeatedly because those areas experience movement that grout can't handle.
Use a silicone or siliconized latex caulk that's color-matched to your grout. Apply it after all other grout repairs are complete and cured. Smooth the bead with a wet fingertip and let it cure fully before exposing it to water.
If your floors have issues beyond the tile surface - particularly squeaks or soft spots - it's worth addressing the subfloor condition before any tile or grout work. Our guide on diagnosing and fixing a squeaky floor covers what to look for underneath.