

Key Takeaways
Start here
What Counts as Basic Plumbing?
Next
Tools Every DIY Plumber Should Have
Core skills
The Three Most Common Repairs
Know your limits
Safety Rules and When to Stop
What Counts as Basic Plumbing?
Plumbing exists on a spectrum. At one end: replacing a washer in a dripping faucet. At the other: rerouting supply lines or installing a water heater. Basic plumbing repairs are those that involve accessible components, require no permits in most jurisdictions, and carry minimal risk when the water supply is properly shut off first.
For most homeowners, the approachable end of that spectrum includes leaky faucets, running toilets, slow or clogged drains, and minor supply line connections under sinks. These are also among the most common household problems, so learning to address them pays dividends quickly. As part of a broader foundation, see our first-time homeowner repair guide for a wider picture of what DIY looks like at home.
Shut-off valve
A valve - usually located under a sink or behind a toilet - that stops water flow to a single fixture without cutting water to the whole house.
Flapper
A rubber seal inside a toilet tank that controls water flow into the bowl. When worn, it allows water to leak continuously, causing the toilet to 'run.'
P-trap
The curved section of pipe beneath a sink drain. It holds a small amount of water to block sewer gases and is a common location for clogs.
PTFE tape
A thin, flexible white tape wrapped around threaded pipe fittings before assembly to create a watertight seal and prevent leaks.
Compression fitting
A type of pipe connection that uses a nut and ring to seal two pieces together without soldering - common on supply lines under sinks.
Fill valve
The mechanism inside a toilet tank that refills it with water after each flush. A faulty fill valve may cause a toilet to run or refill too slowly.
Tools Every DIY Plumber Should Have
You don't need a van full of equipment to handle everyday plumbing. The following hand tools cover a wide range of common repairs:
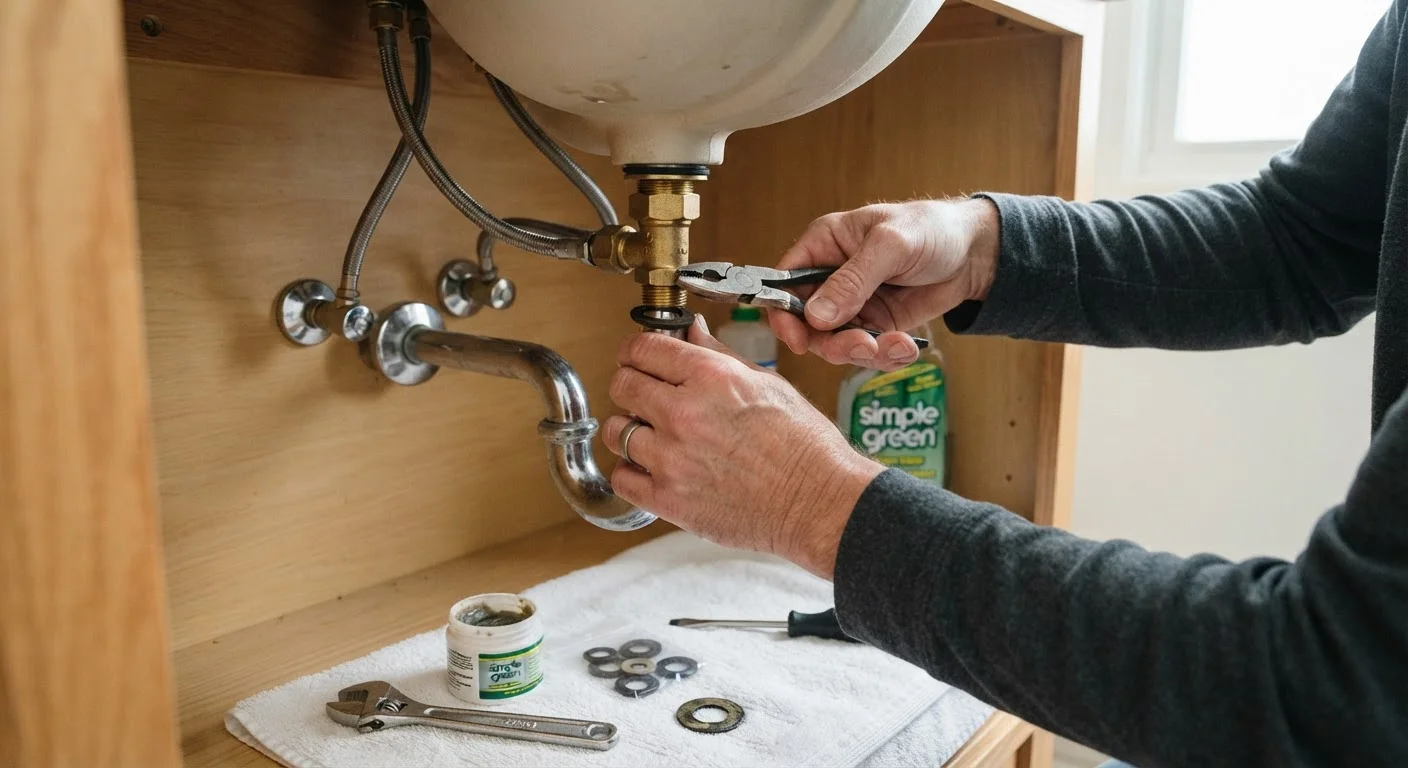
- Adjustable wrench: Tightens and loosens nuts on supply lines and compression fittings without scratching chrome finishes.
- Channel-lock (tongue-and-groove) pliers: Provides extra grip on larger fittings, P-traps, and stubborn packing nuts.
- Plunger (cup and flange types): A cup plunger clears sink and tub drains; a flange plunger is designed specifically for toilets.
- Drain snake (hand auger): Reaches clogs that a plunger can't dislodge, especially in bathroom sink and tub drains.
- Utility knife and plumber's tape (PTFE tape): Used to seal threaded connections and prevent slow leaks at joints.
- Replacement washers and flappers: Keep an assortment on hand - they're inexpensive and needed for the most common repairs.
Before purchasing anything, check what you already own. Many basic repairs require only one or two tools from this list.
The Three Most Common Repairs
These three problems account for a large share of plumber service calls - yet most homeowners can resolve them without professional help.
1. Dripping Faucets
Most dripping faucets in older homes use a compression valve: a rubber washer presses against a seat to stop water flow. When the washer wears out, water seeps through. The fix: shut off the supply valve under the sink, disassemble the faucet handle (usually one screw under a decorative cap), replace the washer, and reassemble. Ball and cartridge faucets - common in newer homes - use cartridge or O-ring assemblies that are replaced as a unit. Repair kits are widely available and matched to faucet type.
2. Running Toilets
A toilet that runs continuously wastes a substantial amount of water. The flapper is the most common cause - when it no longer seats properly, water leaks from the tank to the bowl. Replacing one takes about 15 minutes and no special tools. For more involved issues like a faulty fill valve or float, see our detailed walkthrough on fixing a running toilet.
3. Slow or Clogged Drains
Hair, soap scum, and grease are the typical culprits. For bathroom drains, remove the drain cover and clear visible debris by hand first. A cup plunger or drain snake handles deeper blockages. Kitchen drains often clog at the P-trap - the curved pipe under the sink. Place a bucket underneath, unscrew the slip nuts by hand or with pliers, clear the trap, and reinstall. Don't ignore slow drains; deferred repairs tend to compound into more serious problems.
Take a Photo Before You Disassemble
Before removing any faucet or valve parts, snap a quick photo with your phone. This gives you a reference for reassembly and helps you identify the exact replacement parts you need at the hardware store. It takes ten seconds and can save significant frustration later.
Safety Rules and When to Stop
Even straightforward plumbing repairs require a few non-negotiable habits:
- Always shut off the water supply first. Locate the fixture's individual shut-off valve or the home's main shut-off before touching any fitting.
- Keep a towel and bucket nearby. Residual water in pipes will drain out when fittings are loosened - this is expected and manageable.
- Don't overtighten. Plastic fittings and supply lines crack under excessive force. Hand-tight plus a quarter turn with a wrench is typically sufficient.
- Know when to stop. If you find corroded or crumbling pipe material, evidence of water damage inside a wall, or a problem that's worsened after your attempt, stop and call a licensed plumber.
Certain work is simply not appropriate for DIY regardless of skill level: anything involving gas-connected water heaters, work behind walls, or projects requiring permits. Our guide on when to hire versus DIY covers those boundaries in detail. Avoiding common myths - like assuming all small repairs are simple - also matters; DIY myths can cost real money when they lead to skipped steps or overconfidence.
Basic plumbing competence is one of the most practical skills a homeowner can build. Start with one small repair, follow each step deliberately, and your confidence will grow with every successful fix.