

Key Takeaways
Why DIY Repairs Matter for First-Time Homeowners
Owning a home means accepting that things break. A dripping faucet, a sticky door, a small crack in the drywall-these are facts of homeownership, not emergencies. For first-timers, each minor problem can feel daunting simply because it's unfamiliar territory. The good news: a surprisingly large portion of everyday repairs are genuinely manageable with basic tools, patience, and a little research.
Beyond cost savings, tackling repairs yourself builds a working knowledge of your home's systems-plumbing, electrical circuits, HVAC, framing-that pays dividends for decades. You'll spot problems earlier, communicate more clearly with contractors when you do hire out, and feel less anxious every time something goes wrong. Our guide on the honest advantages and real drawbacks of DIY repairs explores this trade-off in depth.
Building Your Essential Tool Kit
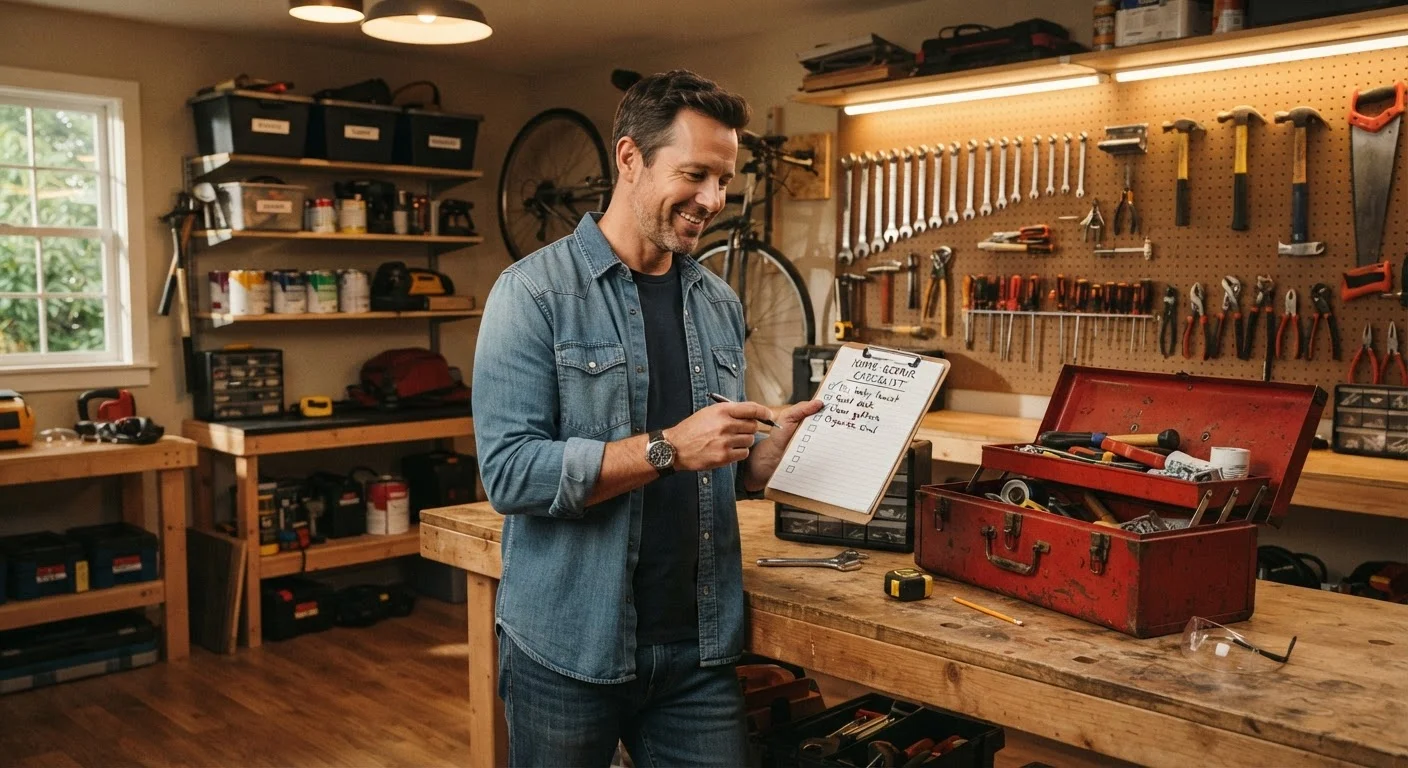
You don't need a truck full of equipment to handle most household repairs. A focused core set covers the majority of jobs you'll actually encounter. Prioritize quality over quantity-a reliable hammer and a sturdy adjustable wrench outperform a cheap 200-piece set every time.
- Hand tools: Claw hammer, flathead and Phillips screwdrivers (multiple sizes), adjustable wrench, needle-nose pliers, utility knife, tape measure, and a level.
- Power tools: A cordless drill/driver is the single most versatile purchase. Add a jigsaw or circular saw only when a specific project demands it.
- Finishing and sealing: Caulk gun, putty knife, sandpaper assortment, and painter's tape.
- Safety gear: Safety glasses, work gloves, and ear protection for loud tools.
For a fully curated list without the impulse-buy traps, see our DIY home repair tool kit guide.
Buy fasteners, sandpaper, and caulk in slightly larger quantities than you think you need-they're inexpensive and running out mid-project adds time and frustration.
Experienced tradespeople always keep consumables stocked because stopping a job partway through, especially for finishing materials, can affect the final result and extend drying or curing times.
Before painting over a patched wall, prime the patch separately first. Skipping primer causes the repaired area to absorb paint differently, leaving a visible 'flash' spot even after multiple coats.
Spackle and joint compound are highly porous compared to surrounding drywall, so an unsealed patch will look different under any sheen of paint-a problem that primer eliminates in one step.
Common Repairs You Can Tackle Yourself
These are the repairs that come up most often and sit well within a beginner's skill range when approached carefully:
Patching Drywall
Small holes from picture hooks or doorknobs can be filled with a pre-mixed spackling compound, sanded smooth once dry, and painted to match. Larger holes (up to about 6 inches) call for a patch kit or a backing board cut from scrap drywall, joint compound, and feathering technique-plan for two to three thin coats.
Fixing a Leaky Faucet
Most drips trace back to a worn washer or O-ring inside the faucet body. Shut off the water supply valves under the sink first, disassemble the handle, replace the worn component, and reassemble. Cartridge faucets follow a similar process with a replacement cartridge.
Caulking and Weatherstripping
Failed caulk around tubs, windows, and door frames lets in water and drafts. Scrape out the old material, clean the surface thoroughly, apply a fresh bead of appropriate caulk (silicone for wet areas, paintable latex elsewhere), and smooth with a wet finger. Replacing adhesive or compression weatherstripping on doors is equally straightforward.
Unclogging Drains
A plunger handles most sink and tub clogs. For stubborn blockages, a hand-cranked drain snake reaches deeper. Avoid relying on chemical drain openers routinely-they can degrade older pipes with repeated use.
Minor Deck and Fence Repairs
Replacing a split deck board or resetting a loose fence post is satisfying weekend work. Use exterior-rated screws and wood appropriate for outdoor exposure.
Permits, Codes, and When to Call a Pro
This is where first-time homeowners most often get into trouble-not from lack of skill, but from not knowing where the DIY zone ends.
Electrical, Gas, and Structural Work: Hire a Pro
Attempting electrical, gas, or structural repairs without proper licensing and permits is dangerous and, in most jurisdictions, illegal for non-licensed individuals. These systems carry risks of fire, explosion, collapse, or electrocution that go well beyond a typical DIY project. Always verify local requirements with your building department and hire appropriately licensed contractors for this work.
As a general rule, any project that involves the following should involve a licensed professional and, in most jurisdictions, a building permit:
- Electrical work beyond replacing a switch or outlet on an existing circuit (new wiring, panel upgrades, adding circuits)
- Gas lines of any kind-installation, relocation, or repair
- Structural modifications such as removing walls, adding beams, or altering the roofline
- Major plumbing that ties into the main supply or drain lines
Permit requirements vary by municipality. Contact your local building department before starting any significant project to confirm what's required. Unpermitted work can complicate home sales, void insurance claims, and-most importantly-create genuine safety hazards. If cost is a concern, our budgeting basics hub can help you plan for periodic professional maintenance expenses.
Safety Fundamentals Every DIYer Needs
The most preventable DIY injuries share a common cause: skipping the basics because a task seems quick or simple. Treat every project with consistent discipline:
- Shut off utilities before you work. Water supply valves for plumbing, circuit breakers for any electrical task-confirm the power is off with a non-contact voltage tester before touching any wire.
- Wear appropriate PPE. Safety glasses protect against debris; gloves reduce cuts and abrasion; a dust mask (rated N95 or better) matters when sanding or cutting.
- Read product instructions. Adhesives, caulks, and chemical strippers have ventilation and curing requirements that affect both safety and results.
- Use the right ladder for the job. Set it on stable, level ground, maintain three points of contact, and never stand on the top two rungs.
- Know what's inside your walls. Before drilling or cutting, use a stud finder and a wire/pipe detector to avoid hitting hidden electrical, plumbing, or gas lines.
Knowing Your Limits and Planning Ahead
Confidence is an asset in DIY work-overconfidence is a liability. Before starting any repair, ask yourself three questions: Do I understand how this system works? Do I have the right tools? If something goes wrong mid-project, can I stop safely or will the situation become worse?
If the answer to any of those is uncertain, research further before picking up a tool. Video walkthroughs, manufacturer instructions, and your local hardware store's staff are all legitimate resources. There's no penalty for learning more before you start.
A home maintenance calendar also helps you stay ahead of repairs rather than reacting to failures. Inspect caulking and weatherstripping seasonally, test smoke and CO detectors monthly, flush your water heater annually, and clean dryer vents at least once a year-these habits prevent the larger, costlier failures. If you're also managing a new vehicle alongside a new home, the same boundary-setting thinking applies to car maintenance.
Homeownership rewards those who treat it as a skill to develop over time. Start with small, well-defined repairs, document what you learn, and build from there. Each successful fix is evidence that the next one is within reach.