

Key Takeaways
Why Garages Fall Apart (And What to Do About It)
The garage is the one space in most homes with no defined social role. Living rooms get tidied before guests arrive. Kitchens get cleaned after meals. But the garage operates by different rules - it's where things go when there isn't an obvious answer for where they belong. Over time, that dynamic turns a potentially useful space into an obstacle course.
The fix isn't buying more shelving and hoping for the best. As common organization myths confirm, adding storage to a disorganized space usually just gives clutter a more permanent home. The real solution is a deliberate sequence: empty, sort, plan, install, return, label, maintain - in that order.
If this is your first time approaching home organization systematically, it may help to start with the fundamentals of getting an organized home before diving into a space as complex as the garage.
Safety First Before You Start
Before moving anything, check for hazardous materials - old paint, pesticides, fuel containers, or corroded batteries. These require proper disposal, not just reorganization. Contact your local municipality for hazardous waste drop-off schedules. Do not store flammable liquids near water heaters, furnaces, or any ignition sources.
What You'll Need Before You Begin
Gather your tools and clear your schedule before starting. This project cannot be done in 20-minute increments - partial sorts create a mess that's harder to work around than the original chaos. Plan for at least a half-day for a typical two-car garage, longer if years of accumulation are involved.
What you will need
Sorting bins or cardboard boxes
Used to create Keep, Donate, Trash, and Relocate piles during the initial sort.
Pegboard and hooks
Mounts to garage walls to hold hand tools, cords, and frequently used items visibly and accessibly.
Heavy-duty shelving units
Provides vertical storage for bins, seasonal items, and heavy equipment off the garage floor.
Label maker or adhesive labels
Identifies bin contents and zone locations to maintain long-term organization.
Ceiling-mounted pulley storage
Lifts bulky seasonal items like bikes or kayaks off the floor using overhead space.
Measuring tape
Used to plan zone layouts and confirm shelving dimensions before purchasing or mounting.
Label Everything - Including Empty Spots
Labeling bins and shelves tells you where things live, but labeling an empty hook or shelf section tells everyone in your household where things go back. This small habit dramatically reduces the 'just set it down for now' behavior that slowly rebuilds clutter.
Step-by-Step: Transforming Your Garage
Follow these steps in sequence. Skipping the empty-and-sort phase and jumping straight to shelving installation is the most common reason garage organization projects fail within months. The order here is deliberate.
Empty the garage completely
Pull everything out onto the driveway. Yes - everything. This is non-negotiable. You cannot assess what you have or plan effective zones while items are still piled on top of each other. Take photographs of the empty garage from multiple angles; these will help you plan your layout before you move a single item back in.
Sort everything into four categories
With everything visible on the driveway, sort each item into one of four groups: Keep, Donate, Trash, and Relocate (items that belong elsewhere in the house). Be honest - if you haven't touched something in two years and have no concrete upcoming use for it, it earns the donate or trash pile. For a deeper framework on this decision process, see the decluttering-first approach that explains why sequence changes everything.
Plan your zones before moving anything back
Using your photographs and a notepad, sketch out activity-based zones for the space. Common garage zones include: automotive (oils, tools, tire gear), lawn and garden (mowers, hand tools, soil), sports and recreation, seasonal storage (holiday décor, camping gear), and a workshop area if applicable. Place high-frequency items near the entry point. Heavy, seasonal items work best along back walls or above head height.
Install vertical storage before returning items
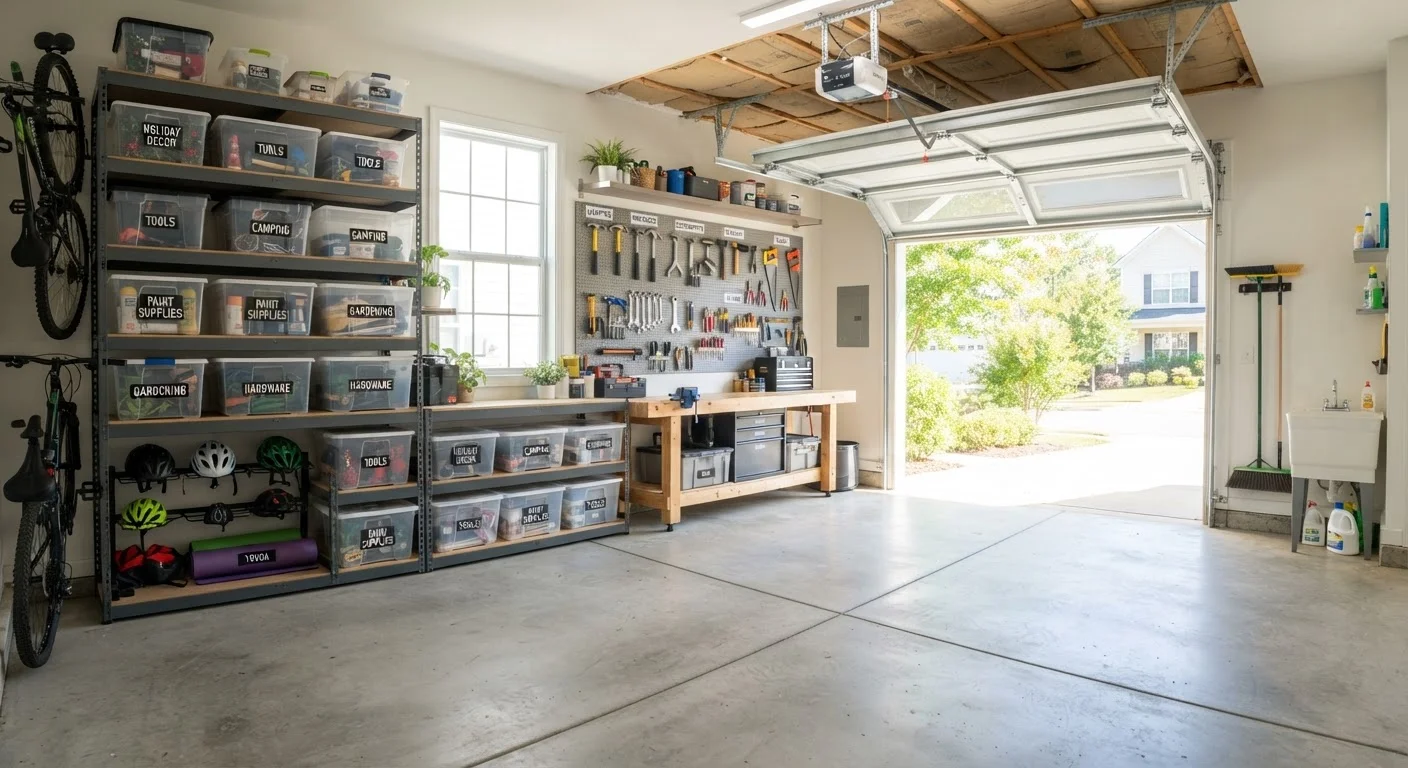
Now is the time to mount pegboards, shelving units, and any wall-mounted racks - before the floor fills back up. Working in an empty garage makes installation far easier and safer. Start with the heaviest storage systems, confirm proper anchoring for your wall type, and allow any adhesive or concrete anchors to cure fully before loading them.
Return only your Keep items - into their designated zones
Bring items back into the garage one zone at a time, placing each directly into its designated area. Use clear, lidded bins for grouped small items. Keep frequently used tools at arm height on pegboard hooks. Move seasonal and rarely used items to upper shelves or overhead storage. Resist the temptation to sort-as-you-go - decisions were made in Step 2, now you're just placing.
Label every bin, shelf section, and hook
Label each storage container and designated spot, not just by item name but by zone category where helpful (e.g., "Camping - Shelter" or "Auto - Fluids"). This matters most for other household members who didn't participate in the organization process. A system only works when everyone can navigate it independently.
Schedule a quarterly reset
Set a recurring calendar reminder every three months to do a 30-minute walk-through. Return anything that has drifted from its zone, discard anything new that has accumulated without a home, and re-evaluate zones if your household needs have shifted. Consistency here is what separates garages that stay organized from those that revert. For more strategies on maintaining organized spaces long-term, see how to keep organized spaces from sliding back.
Don't Anchor Shelves Without Checking the Wall
Garage walls may be drywall over studs, concrete block, or metal framing - each requires different anchors and fasteners. Overloaded shelves on wrong anchors can pull free and cause injury. When in doubt about load-bearing capacity or wall construction, consult a licensed contractor before mounting heavy storage systems.