

Key Takeaways
Why Composting Is Worth the Effort
Composting is one of the most direct ways a home gardener can improve soil health while reducing household waste. Kitchen scraps and yard debris that would otherwise end up in the trash - or worse, a landfill where they produce methane - instead become a stable, slow-release soil amendment that benefits plants for seasons to come.
Finished compost introduces beneficial microorganisms, improves the structure of both sandy and clay-heavy soils, and reduces the need for synthetic fertilizers. If you're working toward a more productive vegetable bed or lower-maintenance landscape, adding compost regularly is foundational. It complements strategies like the ones described in our low-maintenance landscaping guide - plants established in compost-enriched soil tend to require less supplemental watering and feeding over time.
You don't need a large yard or elaborate equipment to get started. A 3-foot square of outdoor space and a basic understanding of what goes in - and what stays out - is enough to begin.
Keep a Small Bin in the Kitchen
A countertop compost pail with a tight-fitting lid makes it easy to collect scraps daily without multiple trips outside. Empty it every two to three days to prevent odors. Compostable liner bags can make cleanup quicker, though they are not required.
What to Add, What to Avoid, and How to Maintain Your Pile
Before starting, gather the materials and tools you'll need:
What you will need
The steps below walk you through setting up and maintaining a productive compost pile from scratch. Whether you're dealing with a season's worth of fallen leaves or a daily stream of vegetable peels, the process follows the same core logic.
Never Compost These Materials
Avoid adding meat, fish, bones, dairy products, fats, oils, or pet waste to a standard backyard compost pile. These materials attract pests, create foul odors, and can introduce pathogens. Diseased plants and weeds that have gone to seed should also be kept out, as a home pile may not reach temperatures high enough to neutralize them.
Choose and Set Up Your Composting Spot
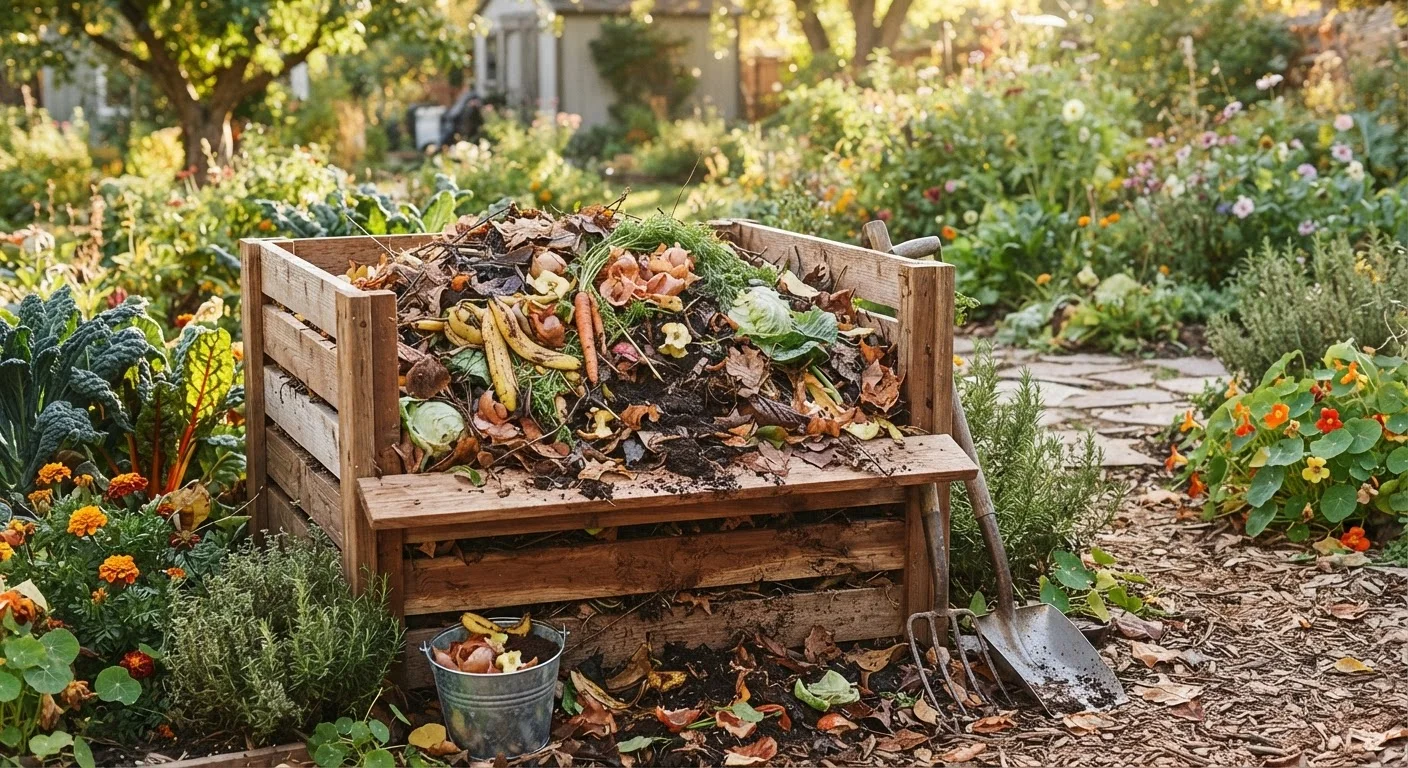
Select a level, well-drained location in your yard that receives partial sun. A spot that gets some sun helps warm the pile, which speeds decomposition, but full sun can dry it out too quickly. Aim for a dedicated area at least 3 feet wide by 3 feet deep - this is the minimum volume needed to generate and retain enough heat for active breakdown.
You can use a purchased bin, build a simple three-sided enclosure from wooden pallets, or simply start an open pile. Bins help retain moisture and deter pests, making them a practical choice for most suburban yards.
Understand Browns vs. Greens
Successful composting depends on balancing two categories of materials:
- Browns (carbon-rich): Dried leaves, cardboard torn into small pieces, newspaper, straw, paper bags, wood chips, and paper towels. These provide structure and energy for microbes.
- Greens (nitrogen-rich): Fresh fruit and vegetable scraps, coffee grounds and filters, tea bags (remove staples), fresh grass clippings, and plant trimmings.
A commonly cited starting ratio is roughly 3 parts browns to 1 part greens by volume. This is a guideline, not a rigid formula - you can adjust based on how the pile looks and smells.
Build Your Initial Pile in Layers
Start with a base layer of coarse browns - wood chips or small twigs work well - about 4 to 6 inches deep. This improves airflow from the bottom. Follow with a 2- to 3-inch layer of greens, then another layer of browns on top. Continue alternating layers as you add new material.
Lightly moisten each layer as you build, aiming for the consistency of a wrung-out sponge - damp but not dripping. This moisture level supports microbial activity without creating anaerobic (oxygen-free) conditions that cause foul odors.
Turn the Pile Regularly
Turning introduces oxygen, which is essential for the aerobic bacteria doing most of the decomposition work. Use a garden fork or compost-turning tool to move material from the outer edges toward the center, and from the bottom upward.
In warmer months, turning every one to two weeks can produce finished compost in as little as four to eight weeks. In cooler conditions or with less frequent turning, the process may take several months to a year. A pile that feels warm or even hot in the center is a good sign that decomposition is actively occurring.
Recognize and Use Finished Compost
Finished compost looks dark brown to black, has a pleasant earthy smell, and has a crumbly texture similar to rich soil. You should not be able to identify individual food scraps. If recognizable materials remain, allow more time or turn the pile again.
Work finished compost into garden beds before planting, use it as a top dressing around established plants, or mix it into potting soil. Even a thin layer - 1 to 2 inches worked into the top 6 inches of soil - meaningfully improves moisture retention, drainage, and nutrient availability. This pairs especially well with the soil preparation covered in our vegetable garden guide.
As you get into a composting rhythm, you may find that your kitchen generates more usable material than expected. Reducing food waste and sorting what's compostable versus what's not also feeds into broader home habits - the kind of room-by-room thinking covered in resources like our whole-house declutter audit.