

Key Takeaways
Why Surface Prep Is the Real Work
Most homeowners spend the majority of their time choosing the perfect color - and almost no time thinking about what happens before the roller ever touches the wall. That's the backward approach that leads to disappointing results within a year or two.
Paint is a coating, not a filler or a bonding agent. It can only perform as well as the surface underneath allows. Dirt, grease, old flaking paint, and glossy sheens all break the mechanical and chemical bond that paint needs to adhere. Once that bond fails in even one spot, peeling spreads quickly.
The good news: surface prep is straightforward, doesn't require professional skills, and makes every other step easier. Think of it the same way you'd approach any careful home project - doing it right the first time saves significant rework later. If you're weighing which repairs to tackle yourself, our guide on when to DIY and when to hire can help you draw that line confidently.
Best Practices for Prepping Interior Walls
Follow these proven steps in order. Skipping ahead might feel like a time-saver, but each step builds on the last.
Clean all wall surfaces thoroughly before doing anything else.
Grease, cooking residue, dust, and handprints create a barrier between the wall and primer. Paint applied over these contaminants will lift and peel as the film dries and contracts. A clean surface is the single most impactful prep step.
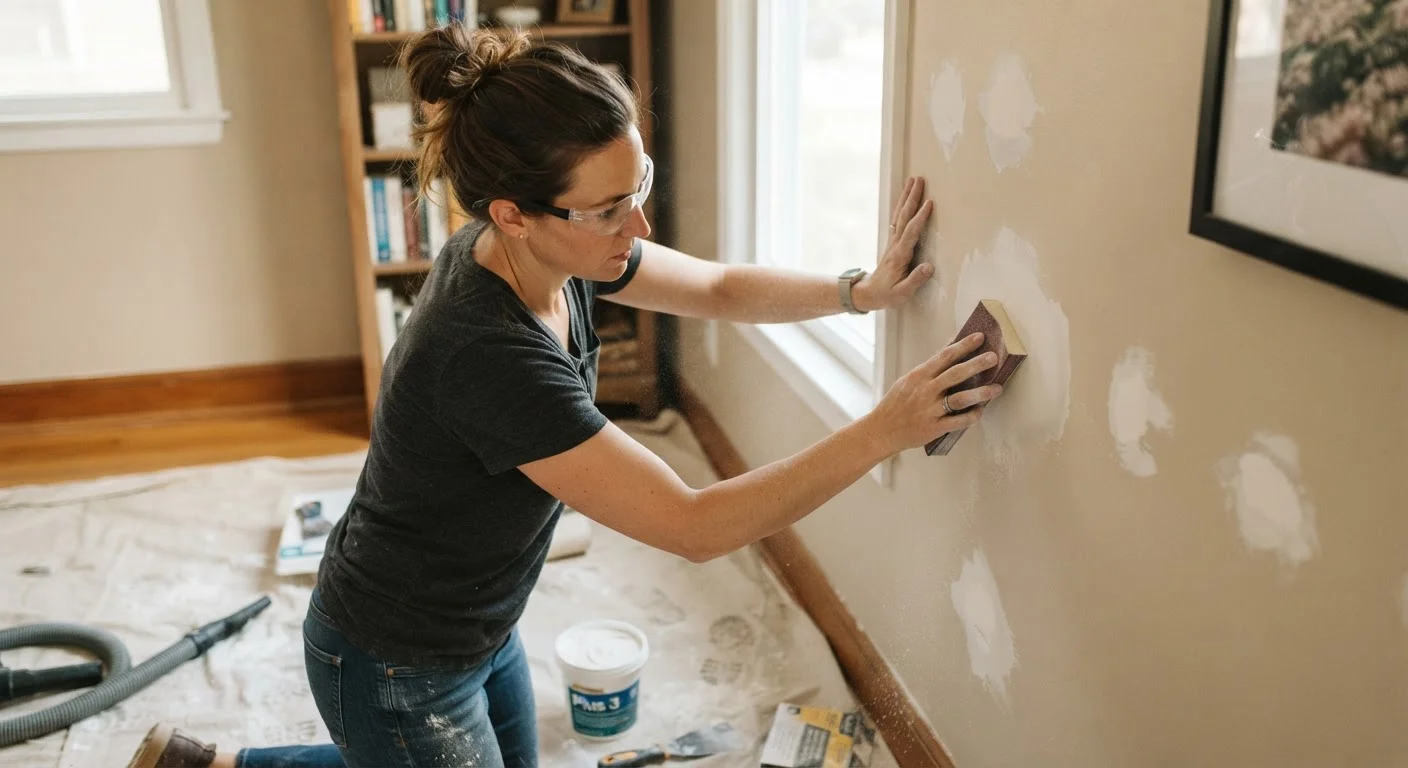
Repair holes, dings, and cracks before priming.
Paint film is too thin to bridge even minor surface defects - it settles into them and makes them more visible under raking light. Patching before priming ensures a flat, uniform surface the paint can coat evenly.
Sand glossy or semi-gloss surfaces before applying new paint.
Paint bonds by penetrating a slightly porous surface. High-gloss finishes are too smooth for new paint to grip, which leads to adhesion failure - often visible as bubbling or peeling within weeks. Dulling the sheen gives the new coat something to hold onto.
Always apply the correct primer for your surface type.
Not all primers are interchangeable. Stain-blocking primers seal smoke damage and water stains that would otherwise bleed through any number of finish coats. High-build primers smooth out minor texture variations. Using the wrong primer - or skipping it entirely - undermines the entire prep effort.
Protect adjacent surfaces with painter's tape and drop cloths before you open any paint.
Drips and splatter on trim, floors, and fixtures are much harder to remove once dried. Proper masking also keeps your attention focused on the wall rather than nervously edging around obstacles.
Quick Wins You Can Do Right Now
Not every prep task requires a full weekend. These actions take under an hour each and immediately set your paint job up for long-term success.
For walls with existing cracks - especially those that reappear after patching - it's worth reading up on what drywall cracks are actually telling you before you reach for the spackle. Some cracks signal movement or moisture issues that paint prep alone won't resolve.
Putting It All Together
A well-prepped wall takes the paint evenly, holds color longer, and resists the moisture and scuffs that everyday life throws at it. The sequence matters: clean first, repair second, sand and prime third, paint last. Rushing any stage creates weak points the finish coat can't hide.
Interior painting is one of the most accessible DIY projects a homeowner can take on - but that accessibility shouldn't be mistaken for simplicity. The same careful judgment that makes other repairs successful applies here. Be honest about what the wall is telling you. As our article on DIY home repair myths notes, skipping steps to save time often creates the exact expensive problems you were trying to avoid.
When prep is done right, painting becomes the easy, satisfying part of the job it's supposed to be.