

Key Takeaways
Why Caulk Fails Before It Should
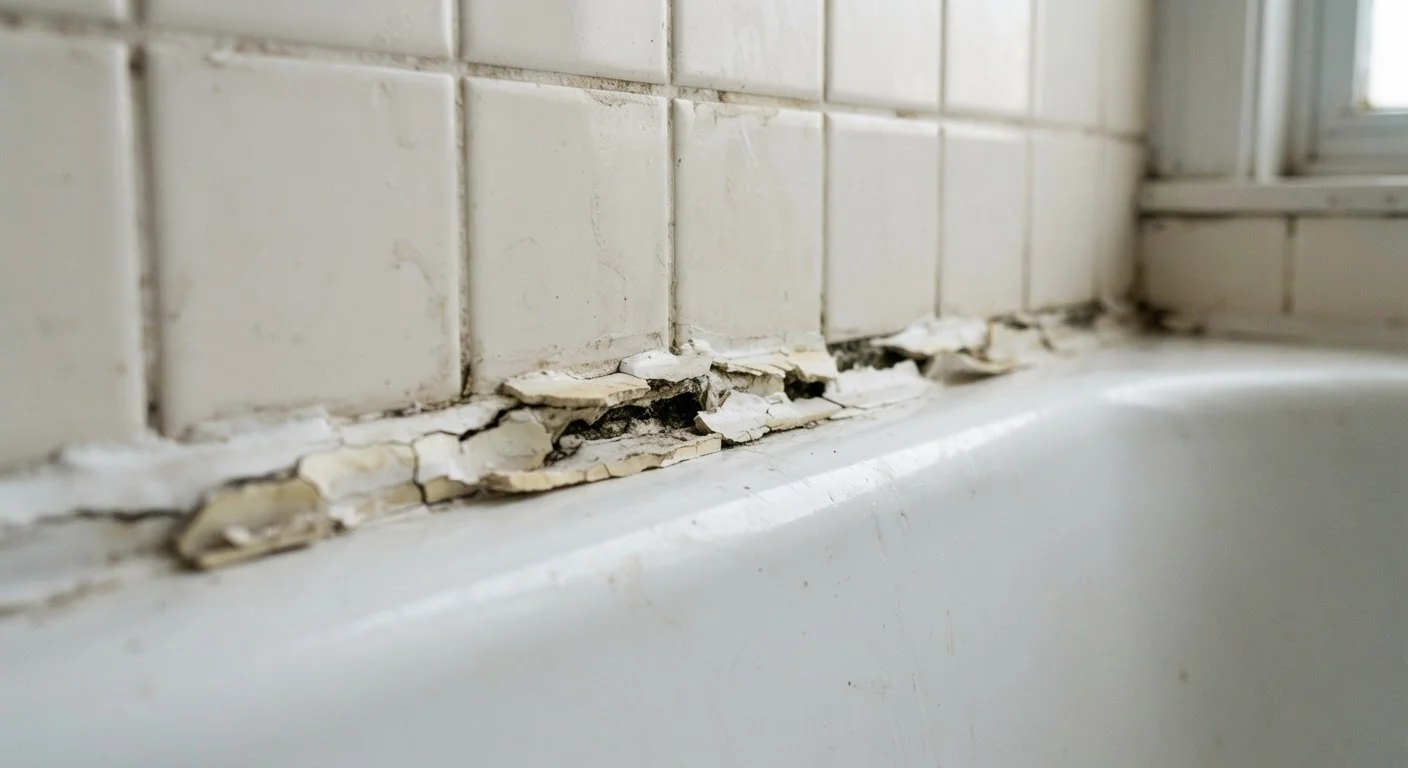
A fresh caulk line should last anywhere from five to ten years in most interior applications - yet plenty of homeowners find themselves reworking the same joint every season. The frustrating truth is that premature cracking almost never comes down to the product itself. It almost always traces back to one or more avoidable errors made during prep or application.
Caulk is a flexible sealant designed to bridge the small gaps that form where two different building materials meet - think tile and a bathtub deck, or trim and a painted wall. Because those materials expand and contract at different rates with temperature and humidity changes, the caulk is constantly under low-level stress. Any weakness in the bond, the formula, or the application technique shortens the window before that stress causes a visible crack.
Understanding the most common mistakes - and why they happen - is the fastest way to stop repeating them. This is also worth getting right: failing caulk around water-prone areas can allow moisture to sneak behind surfaces and cause damage that is significantly more expensive to fix. Our article on the hidden costs of skipping small repairs illustrates how quickly minor maintenance gaps can compound.
The Most Common Caulking Mistakes - And How to Fix Them
Applying new caulk directly over old, failing caulk instead of removing it first.
Why it happens: Removing old caulk is tedious, and a fresh bead layered on top looks like a quick fix. Most people assume the new product will bond with and reinforce what's already there.
Skipping surface preparation - caulking over soap scum, grease, dust, or moisture.
Why it happens: The joint looks clean to the naked eye, so homeowners skip the cleaning step to save time. Invisible residues, however, act as a barrier between the caulk and the surface it needs to grip.
Using the wrong caulk type for the location - for example, using paintable latex caulk in a wet shower.
Why it happens: All caulk tubes look similar on the shelf, and many homeowners grab whatever is available rather than matching the product to the conditions it will face.
Caulking in conditions that are too cold, too hot, or too humid for proper curing.
Why it happens: Most people apply caulk whenever the repair is convenient rather than checking whether ambient conditions are right. Caulk packaging often mentions ideal temperature ranges, but few readers check.
Overfilling the joint and leaving a thick, rounded bead rather than a thin, tooled line.
Why it happens: More product feels like more protection, but thick caulk beads flex unevenly as the surrounding materials expand and contract - leading to cracks in the center of the bead.
Beyond the five core errors above, it's worth noting that cracked caulk along walls - particularly near corners - can sometimes signal building movement rather than a pure caulk failure. If you're noticing cracks in drywall alongside failing caulk, our guide to reading drywall cracks can help you determine whether the issue is cosmetic or structural.
Never Rush the Cure Time
One of the most common ways an otherwise solid caulk job fails early is introducing water or stress before the product has fully cured. Running a shower or closing a window against fresh exterior caulk prematurely can prevent a proper bond from forming. Always check the manufacturer's recommended cure window - and build that waiting period into your project schedule before you start.
Getting It Right the Next Time
A successful caulk job comes down to three fundamentals: a clean and dry surface, the right product for the environment, and a thin bead applied at the right time. None of these steps requires special skill - just patience and a willingness to do the prep work before reaching for the tube.
Once you've removed all old material, cleaned the joint, and confirmed conditions are right for curing, apply the caulk in one continuous, steady pass. Immediately smooth it with a damp finger or a plastic finishing tool, wiping excess on a paper towel as you go. Avoid disturbing the joint for the first 24 hours, and keep water away from wet-area applications for the full cure time listed on the label - often 24 to 72 hours depending on product type and conditions.
Done correctly, a fresh caulk line is one of the most cost-effective maintenance tasks a homeowner can do. It protects against moisture intrusion, improves the finished appearance of any room, and typically requires no special tools beyond a caulk gun, a utility knife, and about an hour of focused attention.