

Key Takeaways
Why Driveway Fluid Checks Matter
Fluids are the lifeblood of your vehicle. Engine oil lubricates moving parts, coolant prevents overheating, brake fluid transfers pedal force to your brakes, power steering fluid keeps steering responsive, and windshield washer fluid keeps your view clear. When any of these drop below safe levels - or degrade in quality - the consequences range from reduced performance to serious mechanical damage.
The good news is that monitoring all five takes about 15 minutes and doesn't require a lift, a pit, or a mechanic's expertise. Developing a habit of checking them monthly - or before any longer drive - puts you firmly in control of your vehicle's health. For a broader pre-trip routine, see our driver's safety walkthrough that covers fluids alongside tires, lights, and emergency gear.
Understanding what's safe to handle yourself is also worth thinking about. Our guide on DIY car maintenance helps you draw the line between confident home checks and tasks that genuinely need a professional.
Clean lint-free rag or paper towels
Wiping the oil dipstick clean before taking a reading and cleaning up any drips.
Flashlight or phone torch
Illuminating the engine bay so you can clearly see reservoir markings and fluid levels.
Owner's manual
Identifying the correct fluid types, reservoir locations, and acceptable level ranges for your specific vehicle.
Nitrile or rubber gloves
Protecting hands from contact with coolant and brake fluid, both of which are harmful to skin with prolonged exposure.
How to Check Each Fluid
Before you start, park on a flat, level surface and turn the engine off. For engine oil and coolant, allow the engine to cool for at least 30 minutes - hot components and pressurized systems can cause burns. Refer to your owner's manual to locate each reservoir; layouts vary significantly between vehicles.
Check the Engine Oil
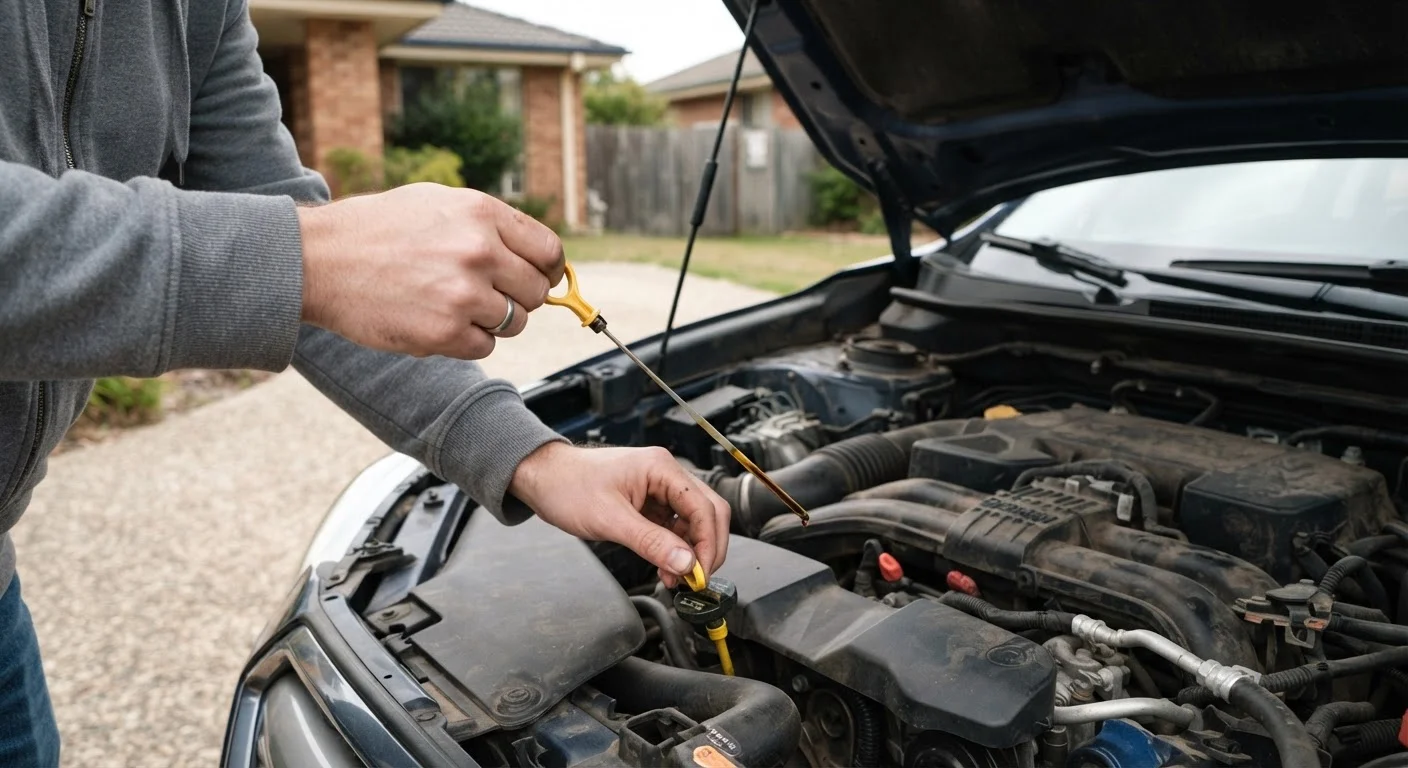
Locate the oil dipstick - typically identified by a brightly colored ring or handle near the front of the engine. Pull it out, wipe it completely clean with your rag, reinsert it fully, then pull it out again. The oil level should fall between the two marks (often labeled MIN and MAX, or L and H). The oil itself should appear amber to light brown. If it looks black and gritty, it's due for a change. If it looks milky or foamy, that can indicate a more serious issue and warrants a mechanic's attention.
Check the Coolant Level
Find the coolant reservoir - a translucent plastic tank connected to the radiator, usually marked with MIN and MAX lines on the outside. You can read the level without opening it. The coolant should be at or between those lines and appear green, orange, or pink depending on the type used. Do not open the radiator cap or reservoir cap on a warm engine - the system is pressurized and scalding coolant can eject suddenly.
Check the Brake Fluid
The brake fluid reservoir is a small, semi-transparent plastic container on top of the brake master cylinder, typically located on the driver's side of the engine bay near the firewall. Check the level visually against the MIN and MAX markings on the outside. Brake fluid should appear clear to slightly yellow. Dark brown fluid is a sign it has absorbed moisture and should be replaced by a mechanic. Do not open the reservoir cap unnecessarily - brake fluid absorbs moisture from the air, which degrades its performance over time.
Check the Power Steering Fluid
Many newer vehicles have electric power steering and no fluid reservoir at all - check your owner's manual first. On vehicles with hydraulic power steering, the reservoir is typically a small tank with a dipstick attached to the cap, or MIN/MAX markings on a translucent reservoir. Check it when the engine is warm for the most accurate reading, as some dipsticks have separate HOT and COLD range markings. The fluid should look clear, pink, or amber - not dark brown or black.
Check the Windshield Washer Fluid
This is the most straightforward check. Locate the washer fluid reservoir - it's usually a blue-capped tank and clearly marked. Look through the translucent plastic to assess the level, or simply fill it to the top. Use a washer fluid formulated for your climate; in colder regions, use a fluid rated for freezing temperatures rather than plain water, which can freeze in the lines and reservoir.
If you find a fluid is consistently low between monthly checks, that points to a possible leak or internal consumption issue - either warrants a professional inspection rather than simply topping up repeatedly. Low brake fluid in particular can also signal worn brake pads, so don't overlook it. Learn more about what brake symptoms can indicate in our article on what your brakes are telling you.
Seasonal conditions also affect fluid performance. Coolant mixture ratios, for example, need to be appropriate for your climate's temperature range. Our seasonal car maintenance guide covers these adjustments in detail.