

Key Takeaways
Choosing the Right Repair Method for Your Hole
Not every hole calls for the same fix. Matching your repair method to the size of the damage is the first decision that determines whether your patch blends in or stands out.
- Nail holes and small dents (under ½ inch): A single application of lightweight spackle, smoothed with a finger or putty knife, is all you need.
- Medium holes (½ inch to 4 inches): Self-adhesive mesh patch kits provide the backing needed to support joint compound without requiring you to cut into the wall.
- Large holes (4 inches and up): A California patch or a cut-in drywall piece secured to backing boards gives solid structural support before compound is applied.
If your wall shows cracking rather than impact damage, check out our guide on reading drywall cracks before you patch - the pattern can signal underlying issues worth addressing first.
What you will need
What You'll Need Before You Start
Gathering all your materials before you begin saves frustrating mid-project trips to the hardware store. Below is what a typical repair requires.
Lightweight joint compound
Used to fill and build up the patched area in thin, even coats.
Self-adhesive mesh patch kit
Provides a rigid backing for holes between ½ inch and 4 inches so compound has support.
6-inch and 10-inch putty knives
Used to apply and feather joint compound over the repair area for a smooth finish.
150-grit and 220-grit sandpaper
For smoothing dried compound between coats and achieving a final paint-ready surface.
Drywall primer
Seals the repaired area so paint absorbs evenly and the patch doesn't flash through.
Dust mask (N95 rated)
Protects lungs from fine drywall dust generated during sanding.
Sanding sponge
Useful for feathering edges in tight spots where flat sandpaper is awkward.
For larger patches, you may also need a drywall saw and a scrap piece of drywall cut to fit. These are standard tools covered in detail in our first-time homeowner DIY guide.
Step-by-Step: Patching the Hole
Follow these steps carefully, paying special attention to drying times. Rushing the process is the most common mistake homeowners make.
Clean and Prepare the Damaged Area
Use a putty knife to scrape away any loose paper, crumbling drywall, or old paint flakes around the hole's edges. The surface around the hole needs to be firm and flat so the patch adheres properly. For holes with jagged edges, use a utility knife to neaten the perimeter before continuing.
Apply the Patch or Backing
For holes under ½ inch, skip this step and proceed directly to applying spackle or compound. For holes between ½ inch and 4 inches, center a self-adhesive mesh patch over the hole and press firmly so all edges stick to the surrounding wall surface. For holes larger than 4 inches, cut a drywall scrap to fit snugly into the opening and secure it to backing boards screwed into the studs on either side.
Apply the First Coat of Joint Compound
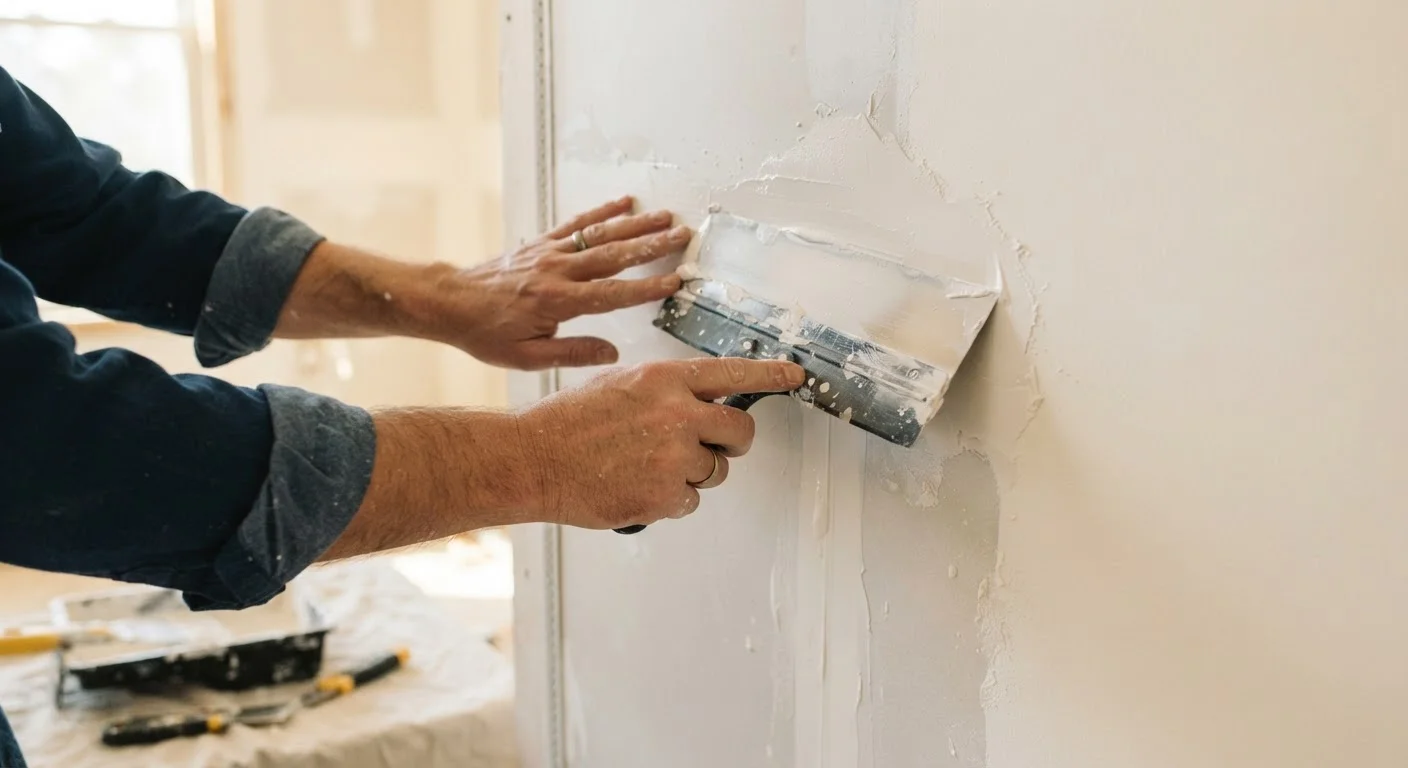
Load a 6-inch putty knife with a modest amount of joint compound and spread it over the patch or filled hole in a thin, even layer. Drag the knife at a low angle to keep the coat thin - you are not filling the hole completely in one pass. Feather the compound about 2 inches beyond the patch edges so the transition to the surrounding wall is gradual.
Allow to Dry Completely, Then Sand Lightly
Let the first coat dry fully - joint compound turns from gray-brown to a uniform white when dry. This typically takes 4-8 hours depending on humidity and coat thickness. Once dry, sand lightly with 150-grit sandpaper using gentle circular strokes. You are knocking down ridges and high spots, not removing material. Wipe away dust with a dry cloth.
Apply a Second (and Third) Coat
Switch to a 10-inch putty knife and apply a second thin coat, extending your feathered edges another inch or two beyond the first coat. This wider blend is what makes the repair invisible. Repeat the dry-and-sand cycle. Most repairs need two to three coats total. The final coat should sit flush with - or very slightly below - the surrounding wall surface.
Final Sand with 220-Grit and Prime
Once the final coat is fully dry, do a final pass with 220-grit sandpaper to achieve a smooth, paint-ready surface. Run your hand across the repair - you should feel no ridge where compound meets drywall. Apply one coat of drywall primer and allow it to dry before painting. Priming is non-negotiable; unprimed compound absorbs paint differently than the surrounding wall, creating a visible dull patch.
Once the wall is fully repaired and primed, finishing with paint that matches the existing wall is your final hurdle. Texture, sheen, and age all affect how paint looks after it dries - get that right with our guide to surface prep for interior paint jobs.
Common Mistakes That Ruin a Good Patch
Even a technically correct repair can fail if a few key habits are skipped. Watch out for these pitfalls:
- Skipping primer: Unprimed joint compound absorbs paint unevenly, creating a visible dull spot called flashing. Always prime before painting.
- Applying compound too thick: Thick coats crack as they dry. Three thin coats always outperform one heavy one.
- Over-sanding: Pressing too hard with sandpaper cuts through the paper face of surrounding drywall, creating a fuzzy texture that telegraphs under paint.
- Using the wrong product: All-purpose joint compound, lightweight compound, and spackle are not interchangeable for every job. Read labels before using.
For a broader look at repair misconceptions that cost time and money, see our article on common DIY home repair myths.
If you're unsure whether your repair qualifies as a straightforward DIY job or something a professional should handle, our guide on when to DIY and when to hire lays out the factors clearly.